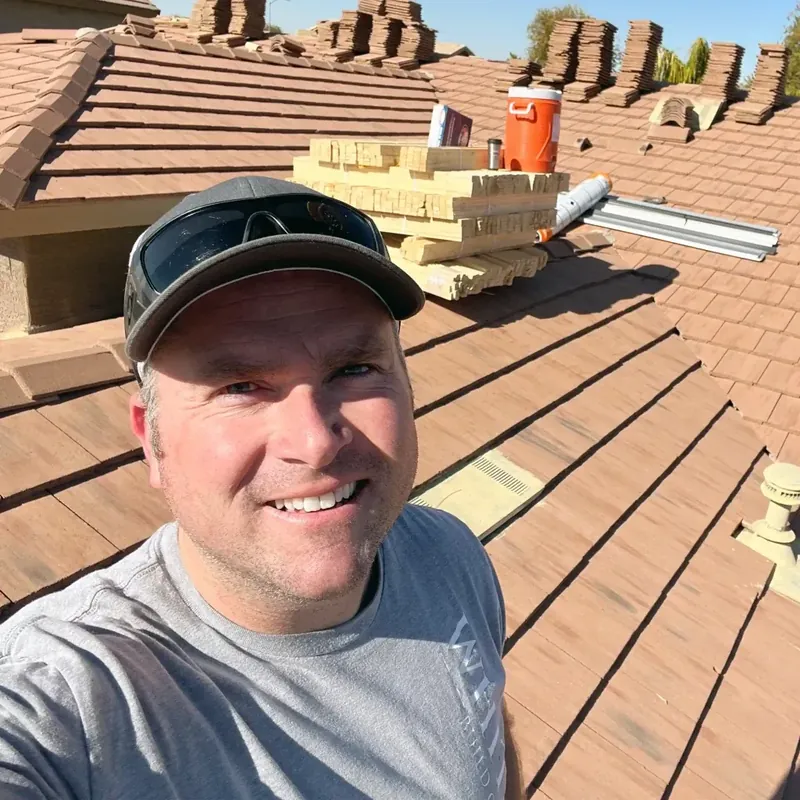
Inspecting your own roof a couple of times a year is one of the best habits an Arizona homeowner can build. You'll catch problems while they're small and cheap, and you'll know your roof well enough to notice when something changes. Here's how to do it safely and what to look for, plus the honest line where DIY should stop and a professional should take over.
Key takeaways
- Most of a useful roof inspection happens from the ground with binoculars and from inside the attic. You rarely need to walk the roof, and on tile you shouldn't.
- Focus on the usual failure points: roofing materials, penetrations, flashing, gutters and the attic.
- Document what you find with photos and notes so you can track changes season to season.
Preparing for your DIY roof inspection
Safety gear
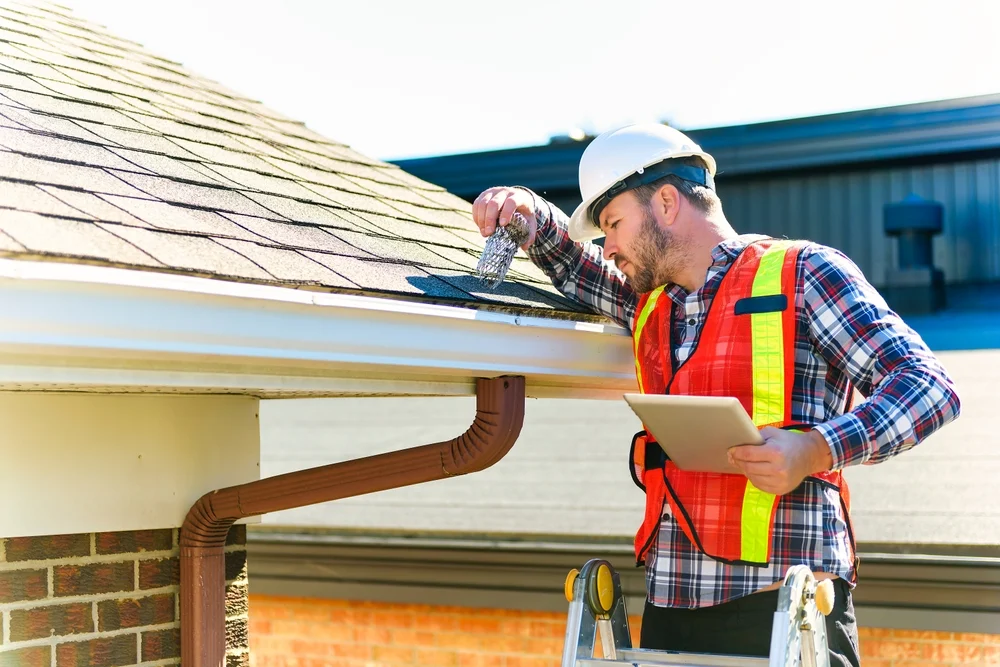
If you go up at all: non-slip shoes, gloves, safety glasses, and a sturdy ladder rated for your weight, set on solid level ground. On any roof steeper than a gentle walk, or any tile roof, stay off entirely. Walking tile cracks tile, and I repair more homeowner footstep damage than most people would guess. The ground plus binoculars covers most of what you need.
Essential tools
Binoculars, a phone or camera, a flashlight for the attic, and a notepad. That's the whole kit. The binoculars do the roof surface; the flashlight does the attic; the camera builds your record.
Optimal weather conditions
Pick a clear, dry, calm day. Skip wet, windy or brutally hot conditions, and in an Arizona summer, go early morning before the roof and ladder become cooking surfaces.
Key areas to inspect on your roof
Roofing materials
Scan for missing, cracked or curling shingles, slipped or broken tiles, and granule loss that leaves dark patches on shingles. Give roof valleys extra attention, since they carry the most water during storms. Note anything that looks different from the surrounding roof; different usually means damaged.
Roof penetrations
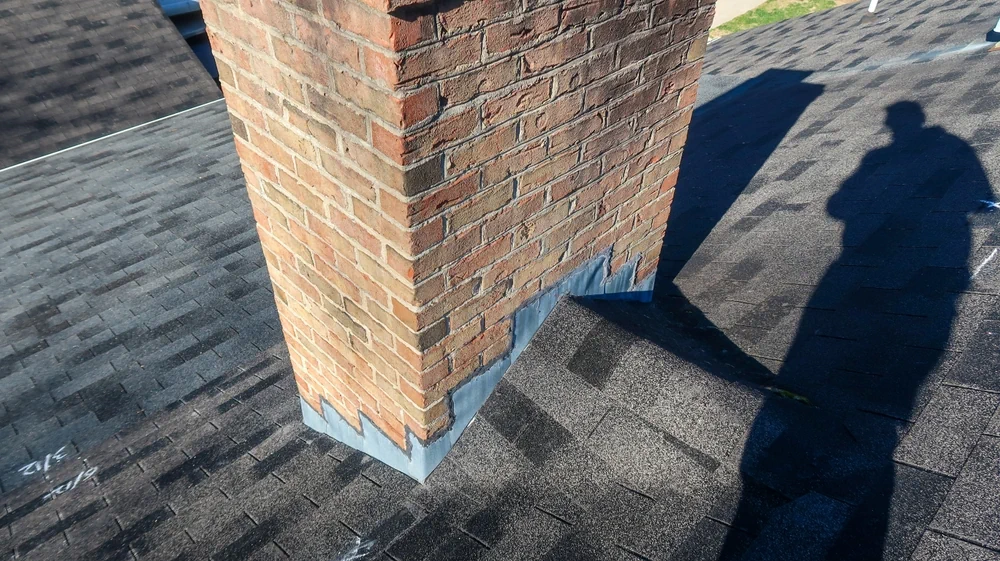
Vent pipes, chimneys and skylights are where roofs leak first. Look for cracked rubber boots around pipes, gaps in sealant, and anything tilted or lifted. These small details cause an outsized share of the leak repairs I do.
Gutters and downspouts
Check for debris, sagging sections and rust. Granules accumulating in gutters are a message from your shingles about their age. Clean gutters at least twice a year, and always before the winter rains.
Flashing and sealants
Flashing (the metal where the roof meets walls, chimneys and valleys) should lie flat, rust-free and fully sealed. Cracked or lifted flashing and dried-out sealant are cheap fixes that prevent expensive water damage.
Fascia and soffits
Walk the perimeter and look up at the fascia boards and soffits for peeling paint, rot, sagging or pest holes. Deterioration here often signals water escaping the roof edge somewhere it shouldn't.
Structural elements
From the street, sight along the roofline: it should be straight. Any visible dip or sag is a structural flag that goes straight to the professional pile.
Interior and attic inspection
The attic is where roofs confess. Half of what I learn on an inspection comes from up there.
Signs of water damage
With a flashlight, look for dark stains on the decking and rafters, damp or matted insulation, mold, mildew smell, and any daylight showing through. Check carefully around every penetration. Stains that look old can still mark an active leak that only runs during storms.
Proper ventilation and insulation
Confirm soffit and ridge vents are open and unblocked, and that insulation is evenly distributed and dry. Good ventilation keeps summer attic temperatures survivable and prevents winter condensation.
Structural integrity
Check rafters and trusses for cracks, sagging or discoloration. Push gently on suspect decking with a broom handle rather than your hand; soft decking means water has been at work. Significant findings here mean stop and call a pro.
Identifying common roof issues
In the East Valley the usual suspects are sun-cracked and slipped tiles, brittle aging shingles, failed sealant, dust storm debris and monsoon wind damage. Moss and algae, which dominate national roofing articles, are rare in the desert; if you're seeing organic growth here, you likely have a drainage problem worth investigating. And after any major storm, do a bonus inspection; my guide on storm roof damage covers what to look for.
When to call a professional roofer
DIY inspection finds problems; it doesn't have to solve them. Call a professional for severe storm damage, complex or steep roofs, any structural concern, anything on tile you'd need to walk on to see, and any leak you can't trace. A pro also judges the one thing ground-level inspection can't: underlayment condition on tile roofs, which is the make-or-break question for most East Valley roofs past 15 years.
Found something up there? Or just not sure?
Send me a photo or have me come look. I'll tell you honestly whether it's nothing, a small fix, or something worth planning for. The inspection costs you nothing.
Call or text Andy: 480-363-2898Documenting your inspection
Taking photos
Photograph every issue from a couple of angles, plus a few overall shots of each roof plane. Photos let you compare season over season and communicate precisely with any roofer you call.
Note-taking
Record what you found, where, and the date. "Cracked tile, third row up, northeast corner, Oct 2026" is worth ten vague memories when you're deciding whether something has gotten worse.
Creating a report
Keep it all in one folder or note thread per year. Beyond helping you, that history becomes real documentation if you ever file an insurance claim or sell the house.
Regular maintenance tips
Pair your inspections with the basics: clean gutters, clear debris from valleys and flat sections, trim overhanging branches, and fix small findings promptly before monsoon or winter rain enlarges them. My full Arizona roof maintenance guide lays out the seasonal rhythm, and my post on roof lifespan in Arizona explains what all this care actually buys you.
Summary
Two DIY inspections a year, ten minutes with binoculars and a flashlight each, will catch most roof problems while they're still small. Stay off the tile, document what you see, and hand anything serious to a professional. And here's the best part of the whole system: a professional check of your roof is free. I do every inspection personally, so if your DIY look raises any question at all, the answer costs you a phone call. Schedule your free roof inspection and get a trained set of eyes on it.
Frequently asked questions
How often should I inspect my roof?
Twice a year, ideally before and after monsoon season, plus after any severe storm.
What safety gear do I need for a DIY roof inspection?
Non-slip shoes, gloves, safety glasses and a sturdy, properly rated ladder on level ground. Better yet, stay on the ground with binoculars; it covers most of the job with none of the risk.
What are the key areas to focus on?
Roofing materials, penetrations (vents, chimneys, skylights), flashing and sealants, gutters, fascia and soffits, and the attic interior.
Can I walk on my tile roof to inspect it?
Please don't. Foot traffic cracks tiles, and cracked tiles cause leaks. Tile roofs are exactly the case where the free professional inspection earns its keep.
When should I call a professional roofer?
For storm damage, structural concerns, complex or steep roofs, recurring leaks, and any tile roof past its mid-teens where underlayment condition is the real question. Since my inspections are free, the threshold for calling is low.