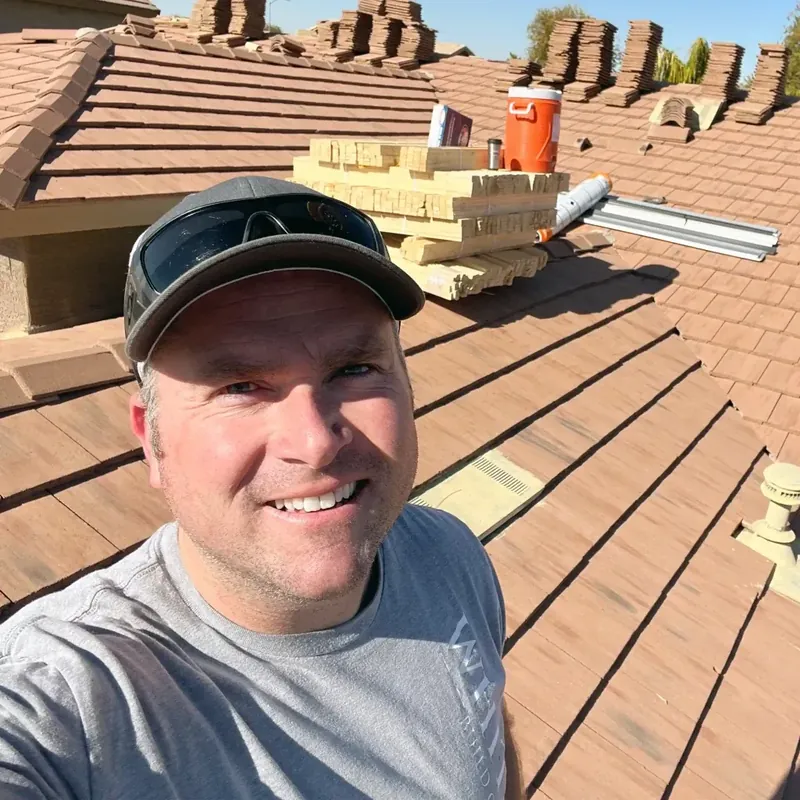
Water coming through the ceiling in the middle of a monsoon storm is one of the worst feelings in homeownership. Take a breath: the next hour matters more than the next week, and the right moves now keep a bad night from becoming a five-figure problem. Here's exactly what to do, in order. And if you want help fast, I answer my own phone: 480-363-2898, or head straight to emergency roof repair.
Key takeaways
- First hour: move your belongings, contain the water, and relieve any ceiling bulge before it collapses.
- Then find the source, or at least document the symptoms with photos for the repair and any insurance claim.
- Tarps, sealant, and buckets are triage, not treatment. Get a permanent repair scheduled before the next storm.

Immediate actions when your roof is leaking
1. Protect your belongings
Move furniture, electronics, and anything you care about out from under the drip zone, and don't forget the attic if you have storage up there. What can't move, cover with plastic sheeting or trash bags. Water damage to the house is repairable; the photo albums are not.
2. Contain the leak
Buckets, trash cans, towels, whatever holds or soaks up water, placed directly under every drip. Put a towel or board in the bucket to cut down splashing. Check and empty containers regularly; an overflowing bucket at 2 a.m. undoes the whole effort.
3. Release built-up water pressure
If the ceiling is bulging or sagging, water is pooling above the drywall, and that ceiling can come down all at once. Counterintuitive but correct: poke a small hole at the low point of the bulge with a screwdriver and let the water drain into a bucket. One controlled hole beats a collapsed ceiling every time.
4. Kill power to affected areas if needed
If water is anywhere near light fixtures, fans, or outlets, switch off the breaker for that zone. Water and live wiring is the one part of this that can hurt you.
Leaking right now?
Call or text me. I handle leak emergencies across Chandler, Gilbert, and the East Valley, and I'll tell you over the phone what to do until I get there. The inspection costs nothing.
Call or text Andy: 480-363-2898Finding the source of the leak
Where water shows up inside is rarely where it enters; it travels along rafters and decking before dropping. Two places to look:
Check the attic
With a flashlight (and careful footing on the joists), look for water trails, damp insulation, dark stains on the wood, and mold. Follow any water trail uphill; the entry point is usually above and away from the drip. A musty smell or discolored decking marks the general area even after things dry.
Look at the roof from the ground
Binoculars from the yard: look for slipped or cracked tiles, missing shingles, and anything out of pattern, especially near where the roof meets walls, chimneys, and vents, because flashing at those joints is the most common leak source I find. Don't get on the roof, particularly a wet one. A slick tile roof injures homeowners every monsoon season, and foot traffic breaks tiles anyway.
Temporary fixes until the pro arrives
Tarp the damaged area
If you can do it safely (from a ladder at the edge, or better, hire it), a tarp anchored with 2x4 boards over the damaged section keeps the next storm out. Extend the tarp over the ridge if possible so water can't run underneath it.
Seal small gaps
Visible cracks around vents, flashing, and penetrations can take roofing sealant or caulk as a stopgap. Clean and dry the area first or it won't hold.
Know the limits
Every one of these buys days, not seasons. Tarps degrade fast in Arizona sun, sealant over a failing area just moves the leak, and none of it fixes the underlayment or flashing problem that let water in. Treat the temporary fix as a countdown timer to the real repair. My guide on how quickly leaks should be repaired explains what waiting actually costs.
Getting it repaired properly
A proper repair starts with a real diagnosis: finding the actual entry point, checking how far water traveled, and fixing the cause rather than the symptom. When I inspect a leak, you get photos of what I found, a firm bid for exactly what the fix covers, and a straight answer if the problem is bigger (or smaller) than it looks. Typical East Valley leak repairs run $500 to $3,500 depending on scope; the full breakdown is in my leak repair cost guide, and the local service pages are roof repair in Chandler and roof repair in Gilbert.
Document everything for insurance
Photograph the interior damage, the ceiling, the attic if accessible, and keep receipts for tarps and emergency measures. If the leak traces to storm damage, that documentation supports a claim; the process is covered in my Arizona roof insurance claims guide. Note the date and the storm; fresh, dated evidence makes claims go smoother.
Preventing the next one
Most leaks I repair were visible on the roof months before they showed up on the ceiling. A yearly inspection, ideally before monsoon season, plus clean gutters and prompt attention to broken tiles, prevents the vast majority of leak emergencies. The full routine is in my Arizona roof maintenance guide, and a free inspection is the easiest first step.
Common questions
Water is dripping through the ceiling. Is that an emergency?
Treat it like one. Contain it, protect your stuff, relieve any bulge, and get a roofer moving. Water spreads and damage compounds by the day.
How do I stop a roof leak temporarily?
Tarp over the damaged area anchored with boards, sealant on small visible gaps, and containers under drips inside. All temporary; schedule the permanent fix now.
Who should fix a leaking roof?
A licensed roofing contractor. In Arizona, verify the ROC license before hiring anyone; mine is ROC #325377, checkable here.
How fast can a leak be fixed?
Most leak repairs take a few hours to a day once diagnosed. The scheduling bottleneck during monsoon season is real, which is another argument for the pre-season inspection.